C++/C# programmer
Developed in July 2019
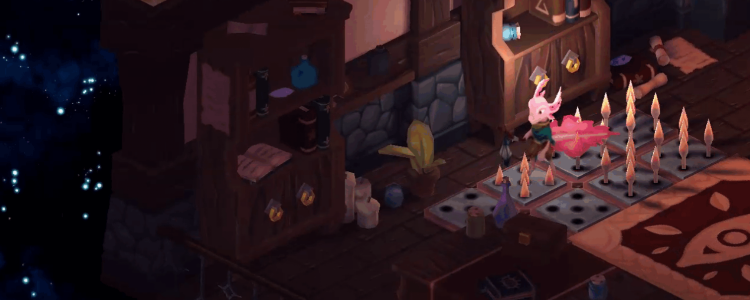
Basic showcase of what my intake project looked like
For my intake to get into Breda University of Applied Sciences, I had to make a game in C++ with the theme of ice. I had 80 days to finish this project.
I used SFML (Simple and Fast Multimedia Library) for some basic functionality that I wouldn’t have been able to implement myself at the time.
This was my first experience programming with C++, I did many things wrong and had no idea how to structure a program yet.
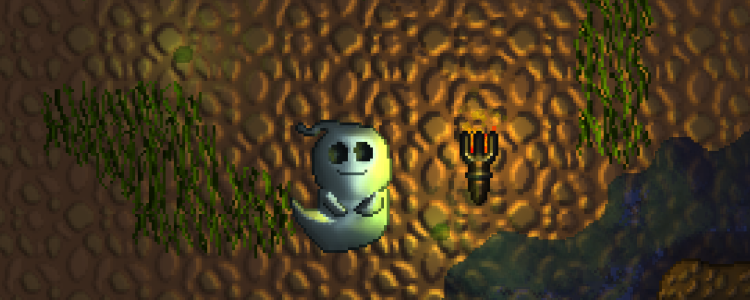
The game I ended up making was quite simple. You play as a ghost who can only touch ice. You can fly around and go through walls. The challenge comes from taking a big block of ice to the end of the level before it melts. When the block gets close to a heat source (like a torch) it will melt faster than usual.
How much the ice block has melted is shown by the bar on the top-left. This same bar also fades between blue and red based on the current temperature of the block.
I very quickly decided that I wanted to have custom 2D physics in my game, so I got to work on circles, then convex shapes, and then concave shapes as well.
I based these physics almost entirely on this series of articles by Randy Gaul. It included density, restitution, and friction. It supports several shape types through a double dispatch system.
One part that was entirely my own, was the support of concave shapes. I had written a program before starting this intake that could generate a collider shape around a sprite using its transparency, and I made it divide those concave shapes into several convex shapes, which my physics code could use.
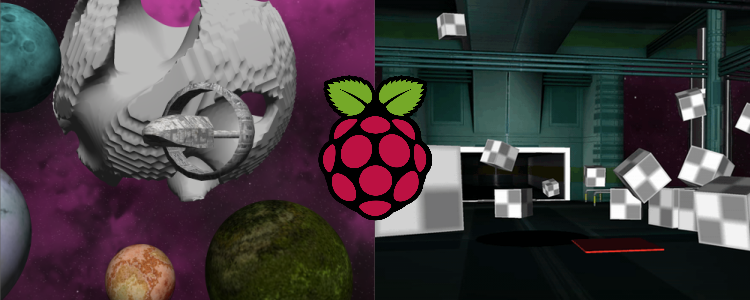
This video shows an early implementation of the sprite lighting. Point lights are shown as single pixels of their color.
This video also shows an early implementation of the lighting that used a form of cell shading, this didn’t end up in the final game because smoother shading would convey the fact that lighting was being applied better. The point was to display these features as well as possible, after all.
I then moved on to attach sprites to the objects as well and very quickly got to applying lighting to them. I had previously done some exploratory research on this, but it was entirely done through the CPU and sent it to the GPU afterward through the API of SFML. This was obviously very slow and started to heavily impact perforce after adding just a few more sprites.
This is where I learned what a shader was and it was my first time working with the GPU. I wasn’t directly using OpenGL yet, this all went through SFML, but I was writing GLSL shaders and sending light source data to the GPU.
I actually ended up implementing deferred shading for this project. And although I didn’t have the skills required to really take advantage of this concept yet, I was doing it through the basic SFML API after all, I did learn a lot from that.
This video shows the particle system applied to torches, which use a simple rectangle for a visual (although sprites are also possible), has a component for moving in a random direction within a certain range, a component for fading between several colors over the lifetime (in this case red-orange-yellow-black), and a component for fading out over the lifetime.
I then moved on to writing a simple particle system.
This system was component-based, using a polymorphic component class so that particle behavior could be extended and combined in a very flexible way.
I did run into an issue with this, which was that I wanted a particle emitter to create these particles on its own while I had no way of telling it what components to add to it.
I solved this with the concept of prototype objects, which is a common OOP design pattern. I would give the emitter a version of a particle that had all the components and values I wanted, and I would force all components to implement a clone() method, which would be used to create copies of the prototype object that included all of its components.
I had a whole system where the game would recognize certain types of tiles, this allowed me to specify certain tiles to be clones of a prototype object rather than the default of a simple sprite and a potential collider.
This allowed for things like torches to be placed in the Tiled editor, while still providing them with particle emitters and light sources.
After this, I moved on to implementing tilemap importing.
You might have been in the previous video that I already had a structure for tilemaps in general, but they were still created in pure code. I wanted to be able to edit my maps in a program like Tiled, to save myself the pain of hardcoding them.
I wrote a small tool that could go through maps generated in Tiled and bundle the content together in a way that made sense for my project, this was mostly done so that I could bind normal maps to the tile sprites.
Loading screen showcase
Sprite sheet, and its normal map equivalent, generated for the first level in the game
I then worked on a basic structure for implementing UI and a loading screen.
The UI was a simple tree structure (with any number of roots) of polymorphic Views, which also had polymorphic components that would add its visual aspects like rectangles, text, and images. The polymorphic aspect of a view came into play when implementing clicking, hovering, and selecting the view. Something like a strategy pattern might have been a better fit for this in retrospect.
For the loading screen, I started with a component that would simply show text and apply word-wrapping to it, but I later made a child class of that to have the text write itself onto the screen over time instead. The text component was still used for the buttons.
The loading screen was my first experience with multithreading. It was quite a simple concept, of course, simply open a small scene, start a thread to load some resources while the scene runs like normal, once the thread is done you switch the scenes and destroy the old one. Even this simple usage of multithreading caused some major issues for me at the time though, I was completely new to it after all.
Most of the loading time is spent on “managing resources”. This is when the game takes all the sprites that are used in the scene it is loading (including those for tilemaps) and generates a sprite sheet that includes all of them. It also generates the equivalent sprite sheet for the normal maps of those sprites.
I used this to implement batched rendering for every sprite layer (to support transparency). I did, however, update all vertices of every sprite on every frame to keep these batches flexible, which might just cancel out the performance benefits (though I’d have to profile that to know for sure). These days, I would use instancing to implement this.
Showcase of the fluid simulation. You can see the generated normal map do its work here as well.
The last feature I really want to highlight is my simple approximation to 2D fluid simulation.
I did not know a lot about physics at this point, but I thought it would look good to have water in my first level and I saw a video of someone making simple water in Unity based on small circles with a cool shader that uses Gaussian blur to blend them together to look like water.
I wanted to mimic this in my own game but, because my physics system didn’t have any sort of broad phase, I couldn’t make the particles very small without needing too many for the performance to handle. This is clearly visible in the result.
I also took a long time working on rendering a normal map for this water, using the same kinds of blending to generate something like a heightmap, and then creating a normal map out of that. The result looks good enough, but I’m sure I could improve it a lot with the experience I’ve gained since I worked on this project.
Other features in this project I haven’t mentioned are:
This level includes some water, there are fireflies moving around, and you have to explode some TNT to get past some rocks
This level is based around lava, but because there is so much of it and because I made the lava emit light in a very non-performant way, the framerate is so bad that it becomes impossible to beat the level. This is obviously a big problem that could have been solved with a spatial data structure and a well-designed rendering pipeline.
Some features in this level include a boat to move the block over some lava, tiles that emit lava droplet particles and will very quickly melt the ice block if it touches it, a button that makes some water drop out of a pipe to create rock and drain the lava falling down, a machine that emits snow particles and refreezes the ice block, and rocks breaking a bridge you previously passed and continuously falling down to make passing this point more challenging
This level includes many things made of ice, which is why the player can’t move around as freely as before.
There are plenty of colored crystals that emit light, there are penguins with torches that act as moving sources of heat and light, there are big snowballs the player must place onto a pedestal to open a gate, and there are falling icicles that make it difficult to move around.
I have uploaded the code of this project to GitHub. If you do look at it, please keep in mind that I made this back in 2018 and that it was my first time working with C++. I have learned a lot since then and this project is not representative of my current skill level.
Link to GitHub repo
Project tags: #2D-lighting, #C++, #Custom-Engine, #Gameplay, #Graphics, #Physics